
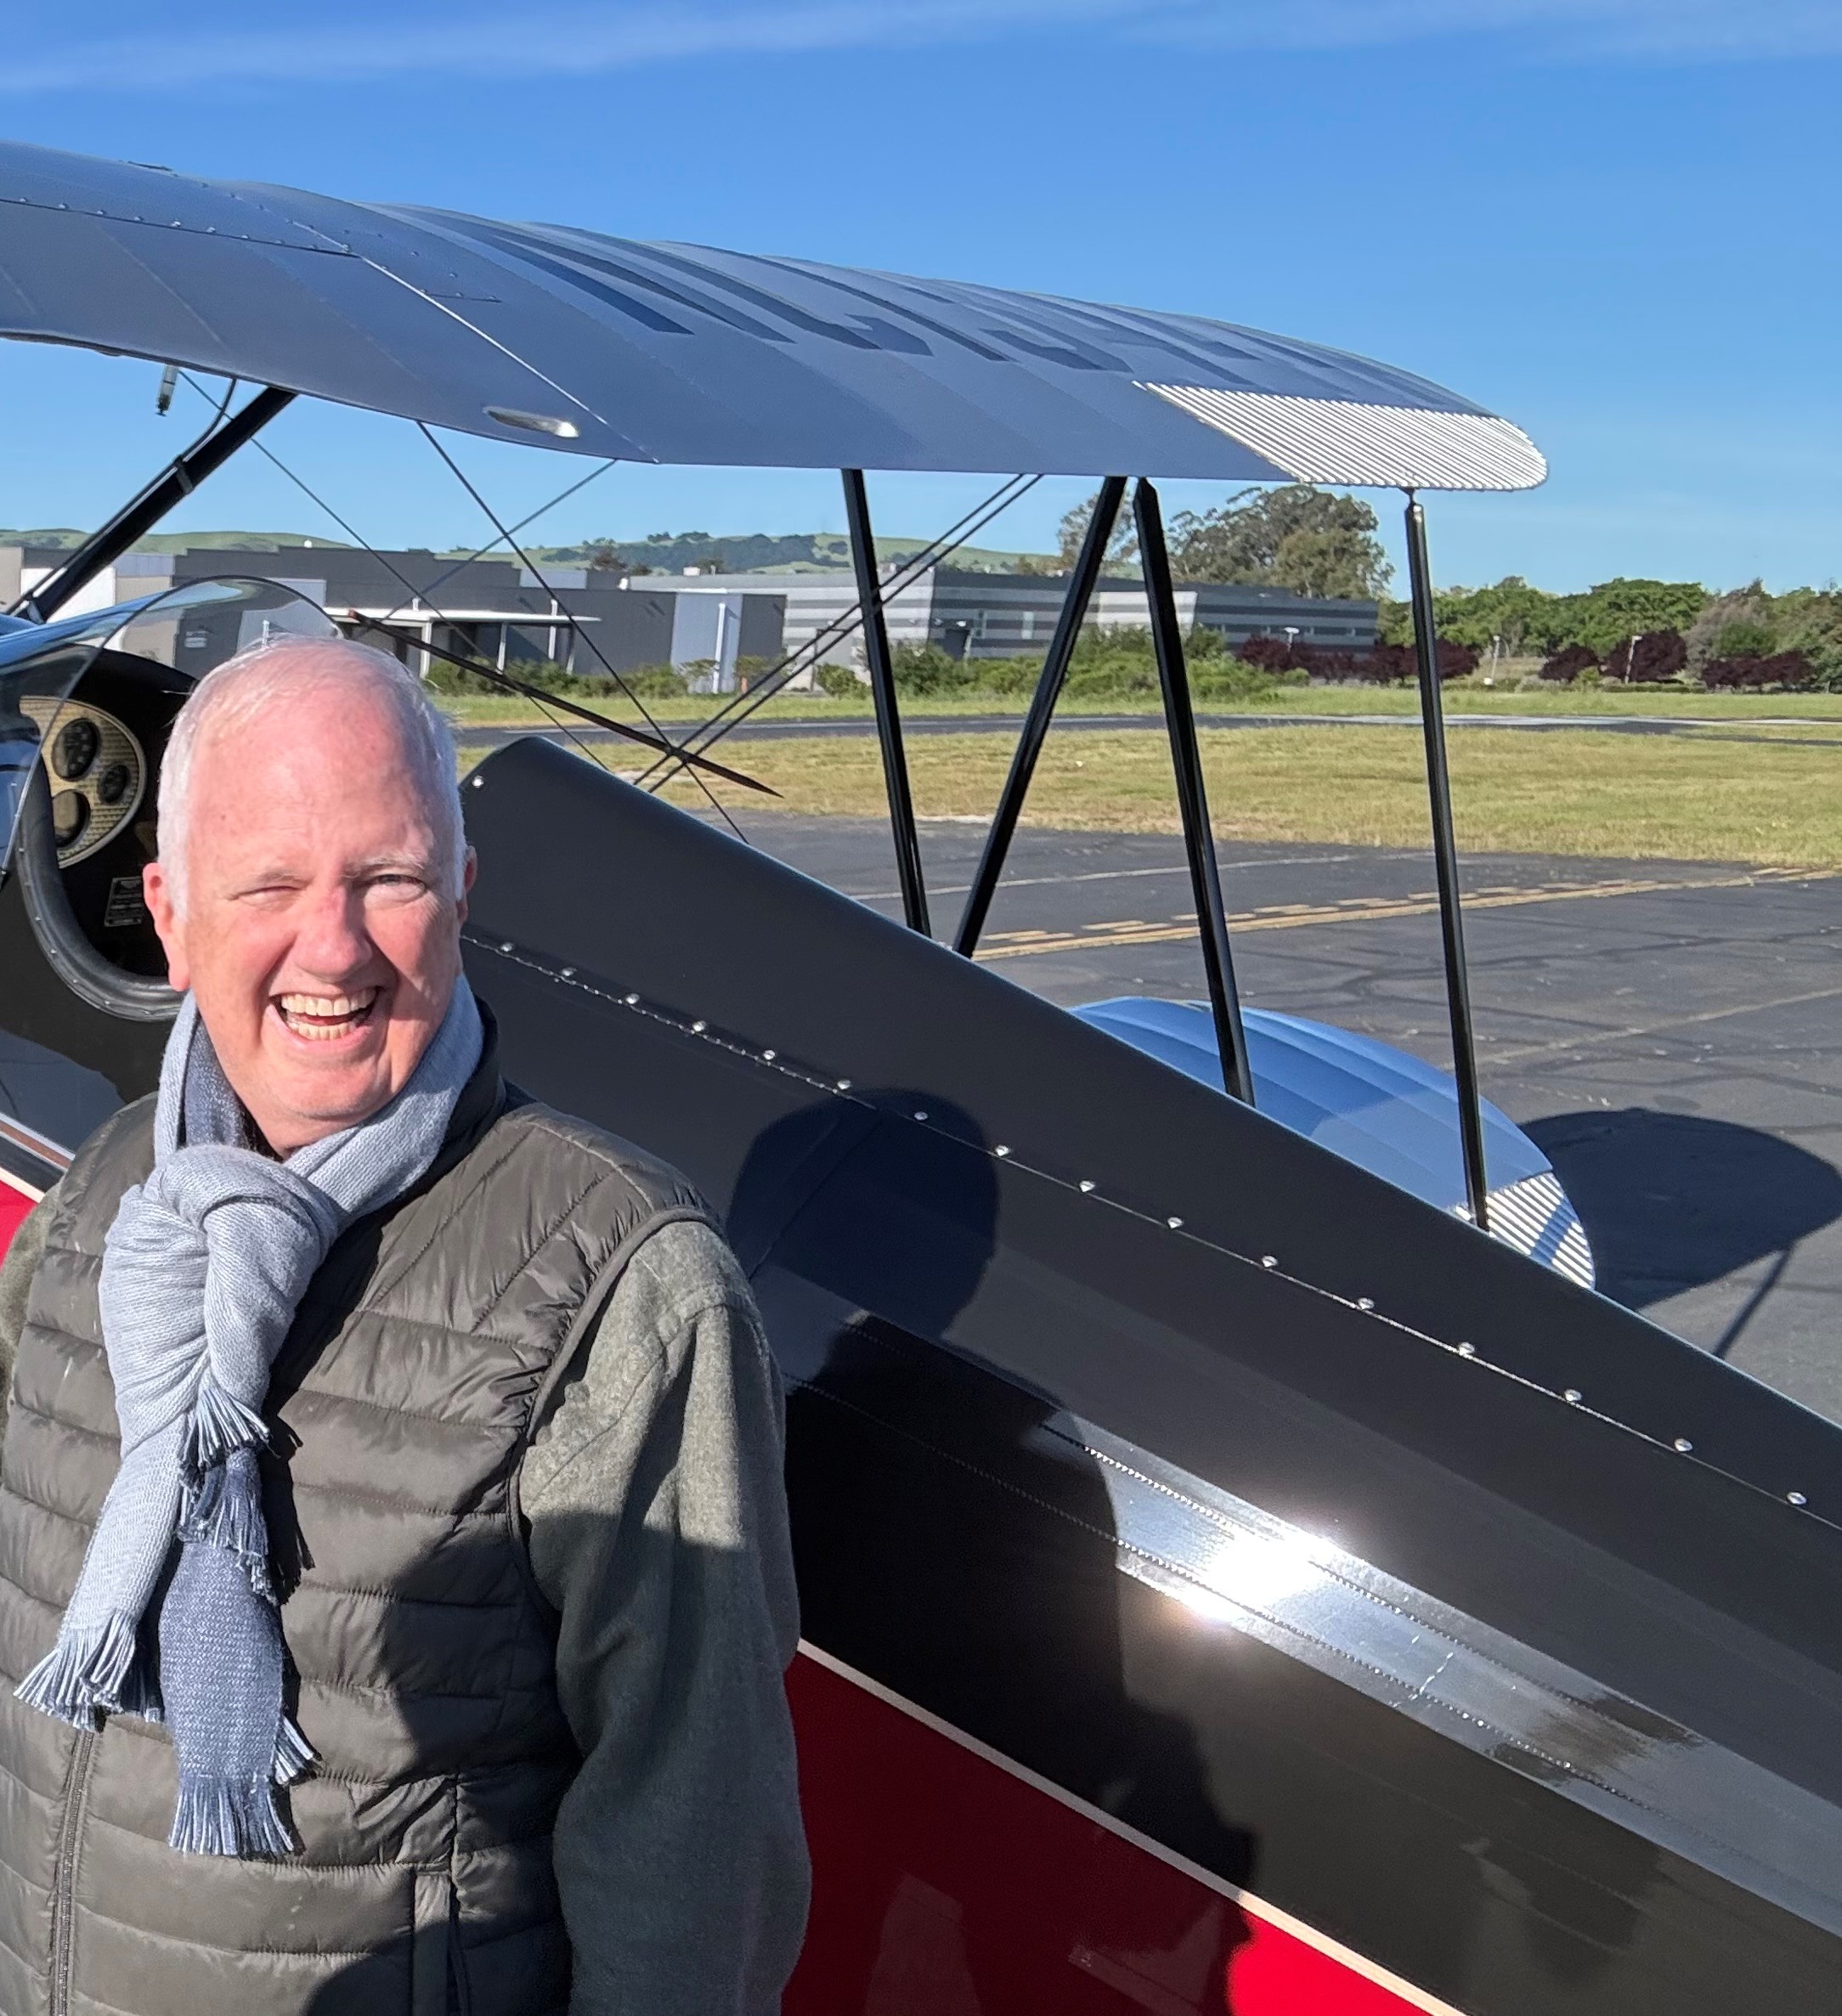
I’ve enjoyed writing a couple of PiReps on the Cessna 120 and Fairchild F24W so I thought I’d do one on my favorite airplanes, the Waco F series. My apologies for the length however, I am trying to be fair to 4 different airplanes.
Waco biplanes are very popular with pilots, both for their beautiful lines and their performance. The open cockpit versions of the 1930’s especially have been preserved in fairly large numbers and the YMF 5 has been produced, in a slightly different form than the originals as I’ll detail later, since the late 1980’s. I currently own and fly the UBF2 of 1933, the only UMF 3 still flying built in 1934, and a 1940 UPF 7. I have owned an early version of the Waco Classic YMF 5 built in 1989, and am currently restoring a Waco YMF 5 originally built in 1935 which has not flown since 1956. Based on my experiences I’ll attempt to describe what it is like to own and fly these airplanes and describe their differences.
It’s helpful to look at their specifications side by side in table form I think, and reference this, as we consider each model:

Notes: * This is from my recollection. It’s not published by Waco Classic. Early versions were 2650 lbs. and increased over time. This is the published power-off stall speed, which can stand in as a substitute for landing speed. However, note that the landing gear geometry on the Waco Classic after serial #10 was changed by lowering the main landing gear 3 inches making a full stall landing theoretically impossible and obviously, the increased airplane weight drove up stall speeds.
Waco Aircraft made a number of “F” model open cockpit aircraft beginning with the RNF, INF, MNF model in 1930 (the first letter of the model’s designation denotes which engine is installed. R=Warner, I=Kinner, M=Menasco, U=Continental R670 and Y= Jacobs generally speaking. If you want to twist off into minutiae these planes used at least 2 different Warners, 3 different Continentals, and 2 or 3 different Jacobs engines). I haven’t flown and do not yet own an R/I or MNF so I haven’t included one of them here. So, essentially there was a 1 (RNF), 2, 3, 5, 6, and 7 model produced. Of those, the 6 are virtually identical to the 5 with some engine differences in planes produced for different users. The 3 and 5 are, for all intents and purposes, identical. Originally, the 3 models had smaller tail feathers, but all were returned to the factory for larger empennages and the model designation changed because it was then 1935. There are some differences in the 2 models as well with different wing root designs, empennage changes, and other tweaks. Confused yet? Welcome to Waco’s!
All versions of the F models used the Clark Y airfoil which was a fairly efficient design with benign stall characteristics and used by a number of other competing designs. All F models used a similar fuselage though it’s obvious from the table above, and from photos or physical inspection that the fuselages got progressively longer and heavier as the models progressed. This is most noticeable from the RNF (the “little F”) to the F2 model. There is also reportedly changes in the distance between the main gear wheels and tail wheel over time with the earlier “F” models more short coupled.
When you put an F2 model side by side with an F3/5 model and F7 the planes seem to grow progressively larger, though from the table it’s obvious that the length only changed 3 inches while the wings are identical, and height remained unchanged. Now, the Classic Waco is an exception as it did get longer in an attempt to provide more cockpit space. I have a photo of my UMF 3 sitting next to a Classic YMF 5 and you can clearly see the difference in fuselage rake angle due to the modified gear on the Classic.
When you place a UPF 7 next to an F3/F5, the F7 just feels like it is larger when it actually isn’t. Part of that comes from the movement of the rear cockpit further back in the fuselage. This changes the pilot’s perspective looking forward as well. It also changes the weight and balance of the aircraft and required some additional, not obvious to the eye, changes in the airframe. The UPF 7 empennage is made out of wood and not steel tubing. Some think that is because of wartime needs for metal but the truth was that these airplanes were largely constructed before the war started. The real reason was to reduce weight in the tail. That is also the reason the “turtleneck” baggage compartment is dramatically smaller than the earlier models and limited to 25 pounds rather than 50 pounds.
Looking again at the chart it is apparent that there are significant performance differences between the models in terms of climb speed, top speed, and landing speed (and though I did not show it in take-off and landing distance as well). Again, consulting the chart you see that the primary culprit was gradually increasing weight. The F2 has always been considered the “sports car” equivalent in the series, all of which are stellar performers for their time. That’s all in the power-to-weight ratio. My UBF 2 practically leaps off the ground and the deck angle seem impossibly high in comparison to all the others as it climbs. On the other end of the spectrum is the UPF 7 which gained a lot of weight due to increased structural members in the fuselage in response to the military RFP for training aircraft while retaining the same R670 engine.
In comparison to the antiques, the Classic is rather portly. Its massively increased weight is due to an abundance of radio and avionics equipment (that for the life of me, I see as nothing but marketing as a rationale), cockpits fully lined with leather, and larger fuel tanks (Mine held 80 gallons!). That massive (22% compared to the UBF 2) increase in weight is partially compensated for with a 275-horsepower motor (and even the 755A2 at 300 hp is available) and sometimes installation of a constant speed propeller but it still performs more sluggishly than the antique models. What doesn’t show in the chart is the “feel” of the plane which is definitely more sluggish in a Classic – though still a joy to fly.
You do need to take the top speeds in that chart with a grain of salt. None of them, in my experience, get that kind of speed. The F2 is certainly the fastest and can literally fly rings around the F3 and F7 as we’ve done that. The F5 with its original 225 HP Jacobs was clearly quicker but the handful of YMF 5’s that have been restored use the 275 hp Jacobs 755B2 engine as the 225 hp version was a greaser. The only “greaser” restoration I’m aware of is a UMF 5 with a greaser Continental.
With this background allow me to discuss some other features of the planes starting with the interior arrangements of the cockpits. The F2 has the smallest holes. The passengers sit up front in all the planes and all are certificated for 2 passengers and 3 people overall. Getting in the front compartment is through a tiny door on the left side and as the wing sits lower over the front hole than on the others it’s quite a challenge. Once in though it’s relatively comfortable for the short-legged. If you’re six feet or more, like me, flying from the front is painful as the rudder pedals are very close. Even with an insulated firewall it also gets quite warm in all these planes as the engine isn’t far away and the oil tank is literally inches away on the other side of the firewall. On the other end of the spectrum the cockpits on the UPF 7 are the largest and while the front still takes some interesting maneuvers to get into both holes are quite comfortable.
For pilots all the rear cockpits are snug. The cockpit opening got bigger as the models progressed with the F7 seeming quite large in comparison. But these places were designed for smaller people than are typically flying them today. Classic attempted to deal with the upright seating position that results by first putting heel recesses or cups in the cockpit floor. I had those and hated them as my feet would occasionally get stuck. They then started lengthening the airframe to make the cockpit longer. That does make the rear hole more comfortable but screwed up the geometry of the airplane.
What many restorers have done to help make the plane more comfortable to fly is to install toe brakes in lieu of the heel brakes that were added to many of the planes when they were first restored in the 1950’s through 1980’s. Originally, the planes came with a handbrake, rudder pedal, and combination which is now just about impossible to find. Getting rid of heel brakes, and moving the pedals forward and inch or two, along with adjusting pilot expectations has made the flying experience safer and more comfortable. I have toe brakes with rudders moved forward slightly in all my planes and fly for three hours with no issues. All the seats are adjustable up and down on bungees, which also helps.
One advantage of smaller holes is less wind. All the planes are comfortable in that respect. The seating position is far enough back from the panel to see everything easily at a glance. This isn’t necessarily the case in other types of this period. The Great Lakes, for example, has the panel so close I can’t read anything without cheaters.
The original planes had hand brakes on the throttle as I mentioned. This makes the throttle lever about 10-12 inches long which is unusual. The elevator trim is actually not trim but moving of the entire horizontal flying surface. That’s accomplished by crank, which comes from an antique Ford I believe, on the right side of the cockpit in all but the UPF 7 where it’s on the left (its cable driven on all but the UPF 7 which uses a chain).
Speaking of brakes, most restorers, and Waco Classic, have replaced the original expander tube type with modern Cleveland STC’ed versions. There are mixed opinions about this. One school of thought is that the Cleveland’s are too powerful for these planes. And there are lots of photos of planes on their noses or backs to demonstrate what happens with too much brake. The original Hayes brakes, the same ones used on Model A cars, are never loved and do have their haters. I find that when properly adjusted they work fine. I have them on two airplanes and Cleveland’s on several. The key with any tail wheel airplane is not to use them!
All right, that’s enough history. Let’s fire these beautiful birds up and go flying!
Well, first let’s preflight. This should take a great deal of care and not inconsiderable time! These planes vibrate. A lot! And perhaps you’re operating off grass – which is enormous fun – but which vibrates everything even more. So, do your walk around with a screwdriver and wrenches in your back pocket as you’ll likely need both. Carefully look at every nut and bolt you can see and tighten the obviously loose. Make sure every castle nut is still either safe- tied or has its cotter pin still there. Move the control surfaces carefully and listen. Run a poly rag over all the wires while you also inspect them looking for scratches, cracks, or dings. Make sure the wheel pants are tight. Look for missing inspection covers. Use a flashlight to look at the back of the engine looking for more than usual oil or other issues.
Now climb up on the wing and double-check that the master and mags are off. Now pull the propeller through seven complete compression strokes. That should be 14 half-turns. STOP if you feel too much resistance! How much? You’ll know. IF that happens, you’ll need to pull the front plugs of #4 and probably #5 cylinders. Then pull the prop through again, clean up the mess, and reinstall the plugs. Just a note here that I’ve found if a Continental gets too much oil in the cylinders it backs all the way up into the intakes and now, you’re going to have to start the engine with a couple of plugs out. Do it and shut down quickly. No matter how fast you are you’ve got a hell of a mess to clean up.
Now we can go fly. Climb up, climb in, and strap in. You wear the airplane so get comfortable! Four to six shots of prime, master on, mags off, and three or four blades around on the starter and flip the mags to both. With luck, the engine fires right off belching a cloud of smoke, you have oil pressure and can begin to warm things up. While that’s going on get ATIS, set an altimeter, and think about what you’re going to do. You’re going to taxi slowly. You’ll use brakes if you don’t have tailwheel steering (I have it both ways). You’re going to make a lot of S-turns. Head for the runway.
Run-up is standard stuff. At the hold short line, cock the plane sideways so you can see the approach. As you’ve already figured out you can’t see anything in front of you! As you take the runway stick back, ailerons correct, and you need to engage the tail wheel lock if you have one. I have on some planes, not on others. They help keep you straight in a crosswind and you’re going to need all the help you can get!
Power up and release back pressure on the stick. Properly trimmed the tail will come up quickly. Fly off at about 60. It works on all these planes. In the UBF 2 you can start pulling baby! You think you’re going straight up! In the others be a little more judicious and aim for 80 mph. That will be pretty quick, and you still have time to give the tower a friendly wing rock as you go by. Just listen to the glorious sounds your engine is making. Feel the wind tickle your face. See the ground when you look down as you think about turning crosswind. My God, does flying get any better than this?
After a couple thousand feet level off and pull the throttle to idle. Pitch to the horizon and wait. Eventually a bit of a buffet. Look to your left or right and you can see the pressure on the fabric before the stall. All these planes stall pretty gently if you have the ball centered. Even the power on turning stall isn’t too big a deal. Stall speed varies up to the fairly fast 59 or so on the Classic. Let’s go do some Dutch rolls.
Straight and level in cruise pick a point on the horizon and start trying to roll the wings about 30 degrees back and forth while keeping the nose straight. Good luck with that! It takes practice as these things set the standard for adverse yaw. How about a wingover? Power up, pitch up, and bank. With the wing down look to your left and behind you. You can’t see anything but the ground. Glorious!
Want to do some light acro? You’ll need to dive to get 120 on all but the F2 for rolls or loops. You can do a loop in the F2 from straight and level flight.
As you turn, twist, and roll around you’ll notice that the four ailerons mean it’s pretty light in bank and the elevator forces are not heavy either. Handling is precise but not sharp. The F2 feels sportier and in the Classic handling is more sedan-like. But if you think it, it seems to happen like magic.
Enough messing around, let’s go do some landings. Enter the pattern and slow to 80. Use a lot of trim. Now, keep it in pretty tight on downwind. These things fly like a brick with the power off! Don’t believe me? Try it. You’ll learn to turn immediately for the runway no matter where you are. Ok, you’re at the point where you need to pull power to 1200-1300 rpm, get the carb heat on, and start heading downhill. Don’t get to far from the runway if you can help it. As you descend make a gradual, graceful turn from downwind to final. That square pattern is not for you because flying blind is just for IFR practice not landing a big biplane!
Too high? Slip. Too short? Add power. Just keep adjusting all the way downhill while you’re targeting 75 mph (The F2 likes 70 better as does the F3. The F7 seems to like a bit more to feel right. Use 1.3 times whatever your stall speed was. This is important as you don’t want to be slow. But you also don’t want to be fast. Fast over the numbers means a lot more work to get it down under control without the need for brakes).
Over the runway, as you are settling get the power out for a 3 point. And you’re probably going to need to pitch the nose higher than you think as all these planes, except the Classic, have a pretty steep rake angle. Pin the tailwheel and start pedaling down the runway. Stay off the brakes! Those are for emergencies, run-ups, and maybe ground steering.
If you’re doing a tail wheel landing, which I prefer on concrete, hold a flatter attitude which just a tiny amount of power until the mains squeak on. Power out and pedal keeping the nose straight while you feed in forward stick to keep the nose up. Just when you think you can’t keep it up any longer gently lower the tail to the ground and pin.
All these lovelies land very well and very similarly. As you’ll note from the chart the F7 has a much wider main landing gear spread. This was designed to make landing easier and all the Waco models got it beginning in 1937. It does make handling crosswinds easier but otherwise I don’t notice a difference.
Don’t forget to get the tail wheel lock unlocked as you slow down. It’s a royal pain on the F3 to get it unlocked after stopping. And in the F7 and F5’s you need to get it off to get off the runway.
Taxi back to the hangar, avionics off, run the motor up to 1200 or so for a bit to scavenge and pull the mixture out. Don’t forget the mags and master. Unstrap, climb out, and go get your cleaning gear! There will be more than bugs on your plane. I typically plan to spend about 2 hours cleaning and prepping for every hour flying. That may seem like a burden to someone who has never done it. But during that entire time, I’m enjoying looking at, feeling, smelling, and thinking about one of aviation’s masterpieces. Every one of them, a work of art.
So, that’s it. That’s most of the Waco F series. Which one should you buy? I say the one you fall in love with first. They are all incredible. There are a lot more UPF 7’s than anything else and prices tend to reflect that. The F2 series (UBF and QCF) are the most sought after and again that’s reflected in the prices. Waco Classics tend to be a bit more expensive than UPF 7’s and if you really want to fly IFR in an open cockpit… that’s your plane. Good luck finding an antique F5. I couldn’t, so I’m building one. An F3? Well, there are two in the world. One in the Waco Museum on static display and mine. Mine’s not for sale.
Written By
Tony Caldwell

Leave a Reply